Setup Home Assistant
Installing AppDaemon
The backend application for HomeAssistant is written in a python for AppDaemon. This means it requires a working and running installation of AppDaemon.
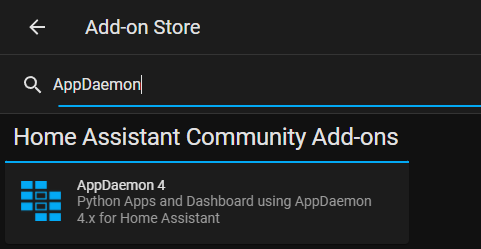
The easiest way to install it is through Home Assistant's Supervisor Add-on Store, it will be automaticly connected to your Home Assistant Instance.
Instructions for users of HomeAssistant Core installed through docker containers.
In case you have a homeassistant setup using docker cotainers and the Add-on Store is not available to you, you can follow this guide for setting up AppDaemon. https://appdaemon.readthedocs.io/en/latest/DOCKER_TUTORIAL.html Please also pay attention to the correct volume mount for the conf folder of appdaemon, that has to point to the appdaemon folder within your homeassistant config folder. Here is an example docker compose file for homeassistant and appdaemon:version: "3.5"
services:
homeassistant:
image: ghcr.io/home-assistant/home-assistant:stable
container_name: homeassistant
network_mode: host
volumes:
- ./docker-data/homeassistant/:/config
- /etc/localtime:/etc/localtime:ro
environment:
- TZ=Europe/Berlin
privileged: true
restart: unless-stopped
appdaemon:
container_name: appdaemon
image: acockburn/appdaemon:4.2.3
environment:
- HA_URL=http://your-homeassistant-url:8123
- TOKEN="xxxxxx"
volumes:
- /etc/localtime:/etc/localtime:ro
- ./docker-data/homeassistant/appdaemon:/conf
depends_on:
- homeassistant
restart: unless-stopped
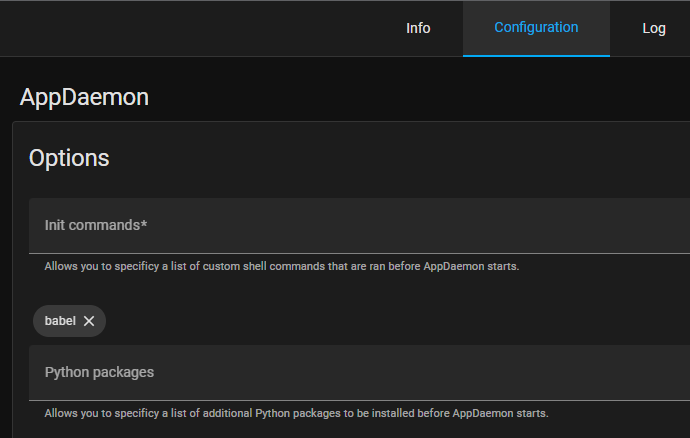
Add babel package to AppDaemon Container (Optional)
For localisation (date in your local language) you need to add the python package babel to your AppDaemon Installation.
Installing Studio Code Server
You will need a way to edit the apps.yaml config file in the Appdaemon folder.
Install Studio Code Server from Home Assistant's Supervisor Add-on Store to easily edit configuration Files on your HomeAssistant Instance.
Installing HomeAssistant Community Store
HACS is the Home Assistant Community Store and allows for community integrations and automations to be updated easily from the Home Assistant web user interface. You will be notified of updates, and they can be installed by a click on a button.
Installing Lovelace AppDaemon Backend Application
To install Lovelace UI Backend App with HACS, you will need to make sure that you enabled AppDaemon automations in HACS, as these are not enabled by default:
- Click on
Configurationon the left menu bar in Home Assistant Web UI - Select
Devices & Services - Select
Integrations - Find
HACSand click onConfigure - In the window that opens, make sure that
Enable AppDaemon apps discovery & trackingis checked, or check it and clickSubmit - If you just enabled this (or just installed HACS), you might have to wait a few minutes as all repositories are being fetched; you might hit a GitHub rate limit, which might then require you to wait a few hours for HACS to be fully configured. In this case, you won't be able to proceed to the next steps until HACS is ready.
Now, to install NSPanel Lovelace UI Backend with HACS, follow these steps:
- Click on
HACSon the left menu bar in Home Assistant Web UI - Click on
Automationsin the right panel - Click on
Explore & download repositoriesin the bottom right corner - Search for
NSPanel, and click onNSPanel Lovelace UI Backendin the list that appears - In the bottom right corner of the panel that appears, click on
Download this repository with HACS - A confirmation panel will appear, click on
Download, and wait for HACS to proceed with the download - The Backend Application is now installed, and HACS will inform you when updates are available